

With Signalize it is also possible to send notifications to visitors of AMP sites. This requires that the page be adjusted in a maximum of two places.
First, “amp-analytics” must be integrated. To do this, the corresponding script is loaded in HTML by adding a script-element in the head-element:
< head>

< script async custom-element="amp-analytics" src="https://cdn.ampproject.org/v0/amp-analytics-0.1.js">

< /script>

< /head>
If several tracking tools are used simultaneously, the script only needs to be loaded once. Afterwards, the “amp-analytics” body element is integrated with the Signalize or etracker configuration:
< body>

< amp-analytics config="https://code.etracker.com/amp-config.json.php">

< script type="application/json">

{

"vars": {

"pagename":"AMP-testpagename",

"areas": "AMP-testarea",

"et": "NU3bns"

}

}

< /script>

< /amp-analytics>

< /body>
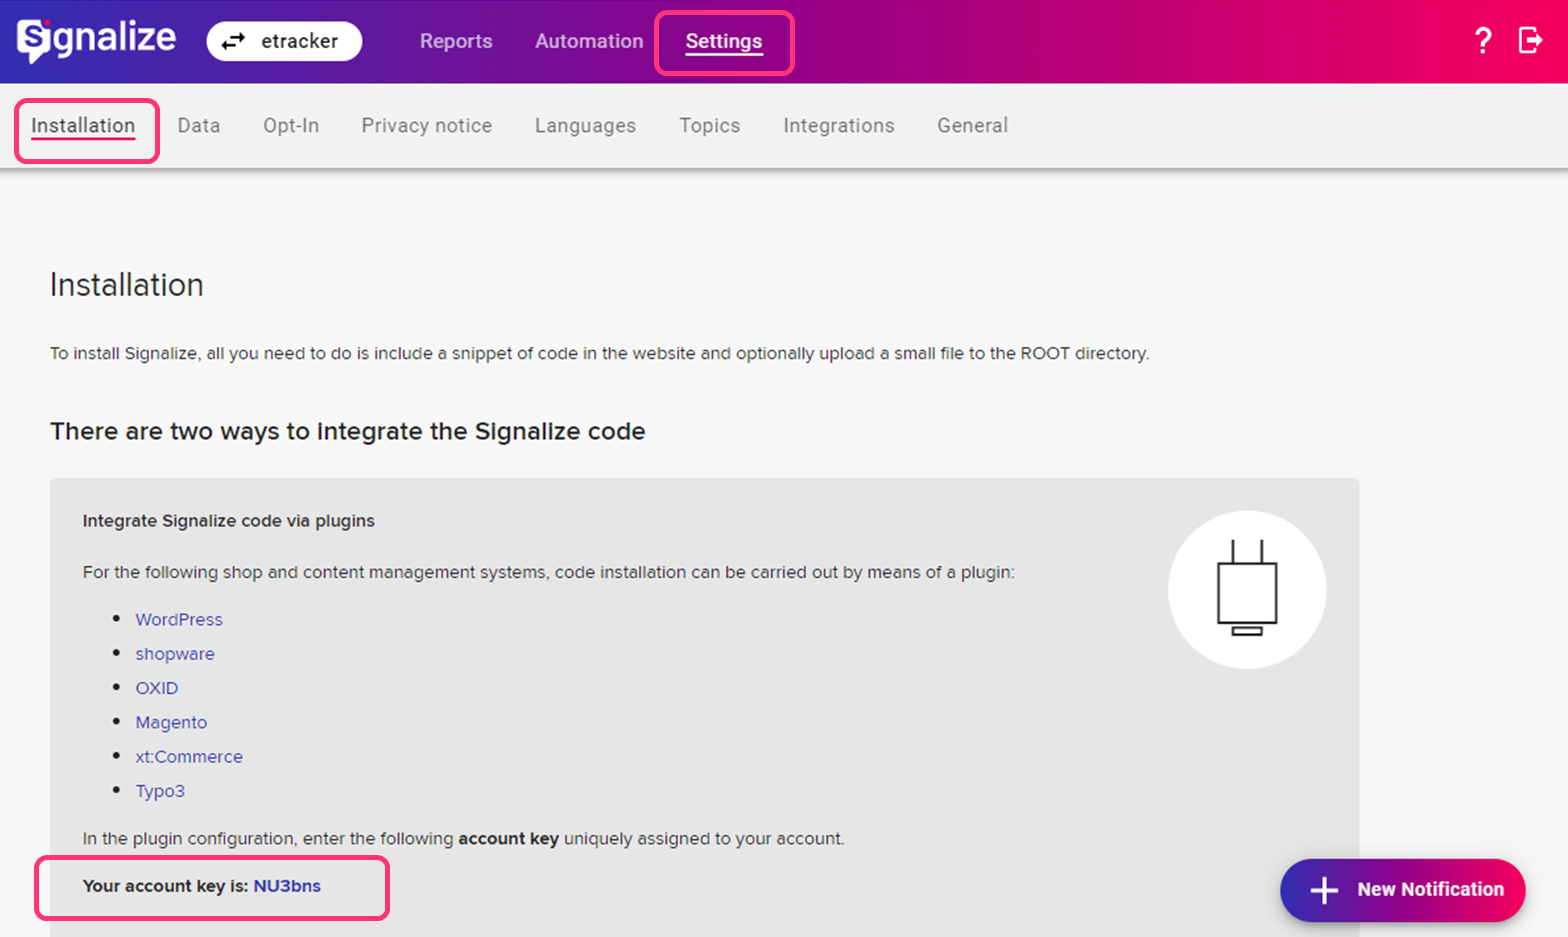
In the code section above, “NU3bns” stands for the account key, which is uniquely assigned to each account. You can find your personal account key in your Signalize account under Settings -> Installation.
Links on non-AMP pages
If the AMP pages contain links to non-AMP pages in the same domain, the following changes must be made:
- On the AMP page, assign additional attributes to all elements (hyperlinks) that refer to non-AMP pages (see below). These ensure that when the non-AMP page is called, additional URL parameters are sent along with it, which are transparently evaluated by the Signalize Code on the target page.
- On the target pages (non-AMP) the esSafeCrossDeviceeTracking.js is loaded immediately before (important before, not after!) the e.js:
< script src="//code.etracker.com/etSafeCrossDeviceTracking.js">< /script >This script makes sure that the information created by AMP-Analytics reaches Signalize.
ADDITIONAL ATTRIBUTES FOR AMP-TO-NO-AMP HYPERLINKS
The following attributes must be inserted in exactly this form in elements in the AMP-HTML:
data-amp-addparams="et_cdi=CLIENT_ID(_et_amp_id)&et_ts=TIMESTAMP"
data-amp-replace="CLIENT_ID TIMESTAMP"
A link to the page https://non-amp.example.com from https://amp.example.com will look like this
< a href="https://non-amp.example.com" data-amp-addparams="et_cdi=CLIENT_ID(_et_amp_id)&et_ts=TIMESTAMP" data-amp-replace="CLIENT_ID TIMESTAMP">Visit our traditional page< /a>